The Racal Syncal 2000 is an amazing “pack” set for amateur use.
- It is built to British military specifications,
- Designed for outdoor use in the field,
- One of the lightest of its type,
- Built in fast auto-tuner,
- VFO knob (VERY rare in a military set!)
Unfortunately these are very hard to find, and when they are, they can be extremely expensive. Not wanting to get a second mortgage, but really wanting one, I was able to get one for a very attractive price. The hitch was that the LCD display had some bad segments.
I thought there was a small chance the problem was board corrosion and the LCD itself was ok, but that was not to be. The problem is actually with the LCD display itself, and it is a custom part, and of course no longer made.
When I opened the unit I discovered a couple of design weaknesses. The seal around the LCD is poor, and the mic connectors are not nearly as robust as the US type, and both of mine had cracked, letting in water. This water caused corrosion of the LCD contacts.
First I addressed these concerns. I was lucky to find replacement connectors, for way less than list price, via a surplus seller in the UK. I then siliconed in a piece of actual glass in the front panel, which completely solved water ingress.
Now, as to the display, I decided I would see if I could find a graphic OLED display which would fit in the existing space. Although limited due to several mechanical constraints, I found several in stock at Digikey. I need to re-verify the mechanicals then I will order one, although I’ll probably wait until I need parts for another project since the cost is low enough that I’d like to share the shipping cost among more parts.
The schematics are so far not available for this radio. However, the LCD driver chips are well documented PCF8576T devices which have a I2C interface. My plan is to use an Arduino chip with the “wire.h” library which can emulate a I2C device, then a standard library to talk to the SPI interface in the OLED display. Besides a filter cap or two and maybe a few resistors there won’t be much else in the circuit.
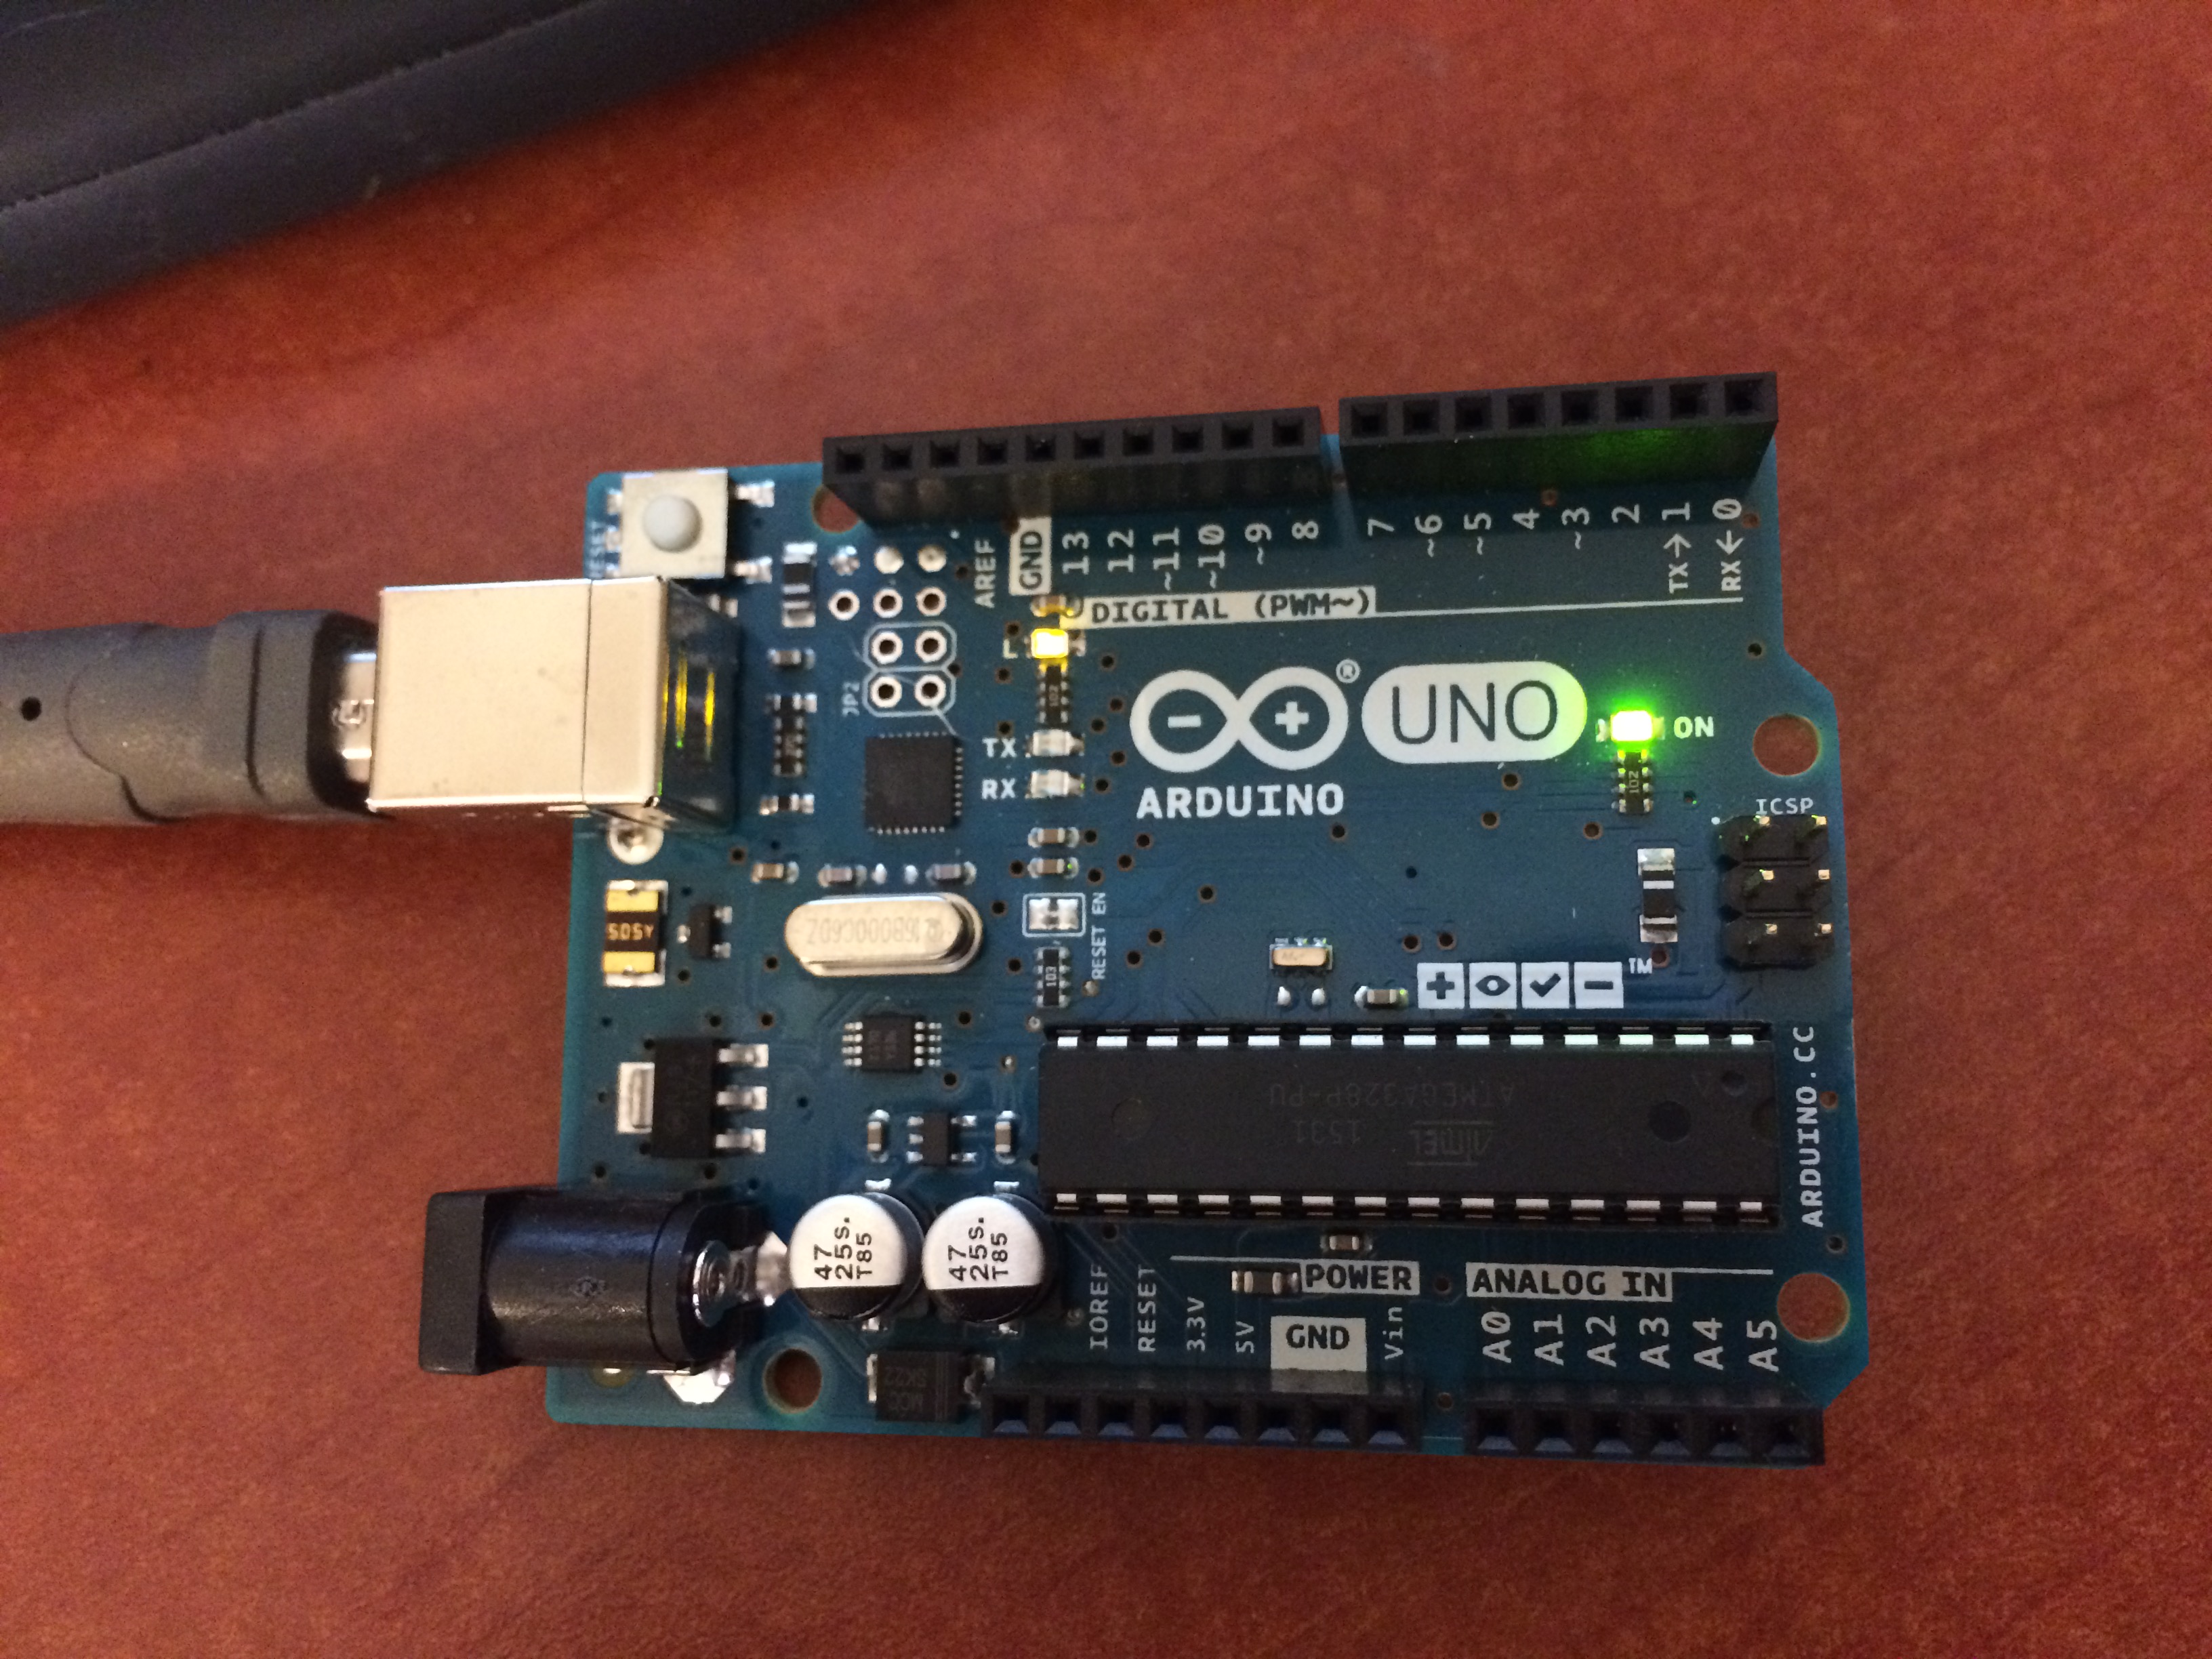
I’ve never used an Arduino before so I bought one from Adafruit and downloaded the development environment. I bought a relatively simple one called Arduino Uno. It looks like this:
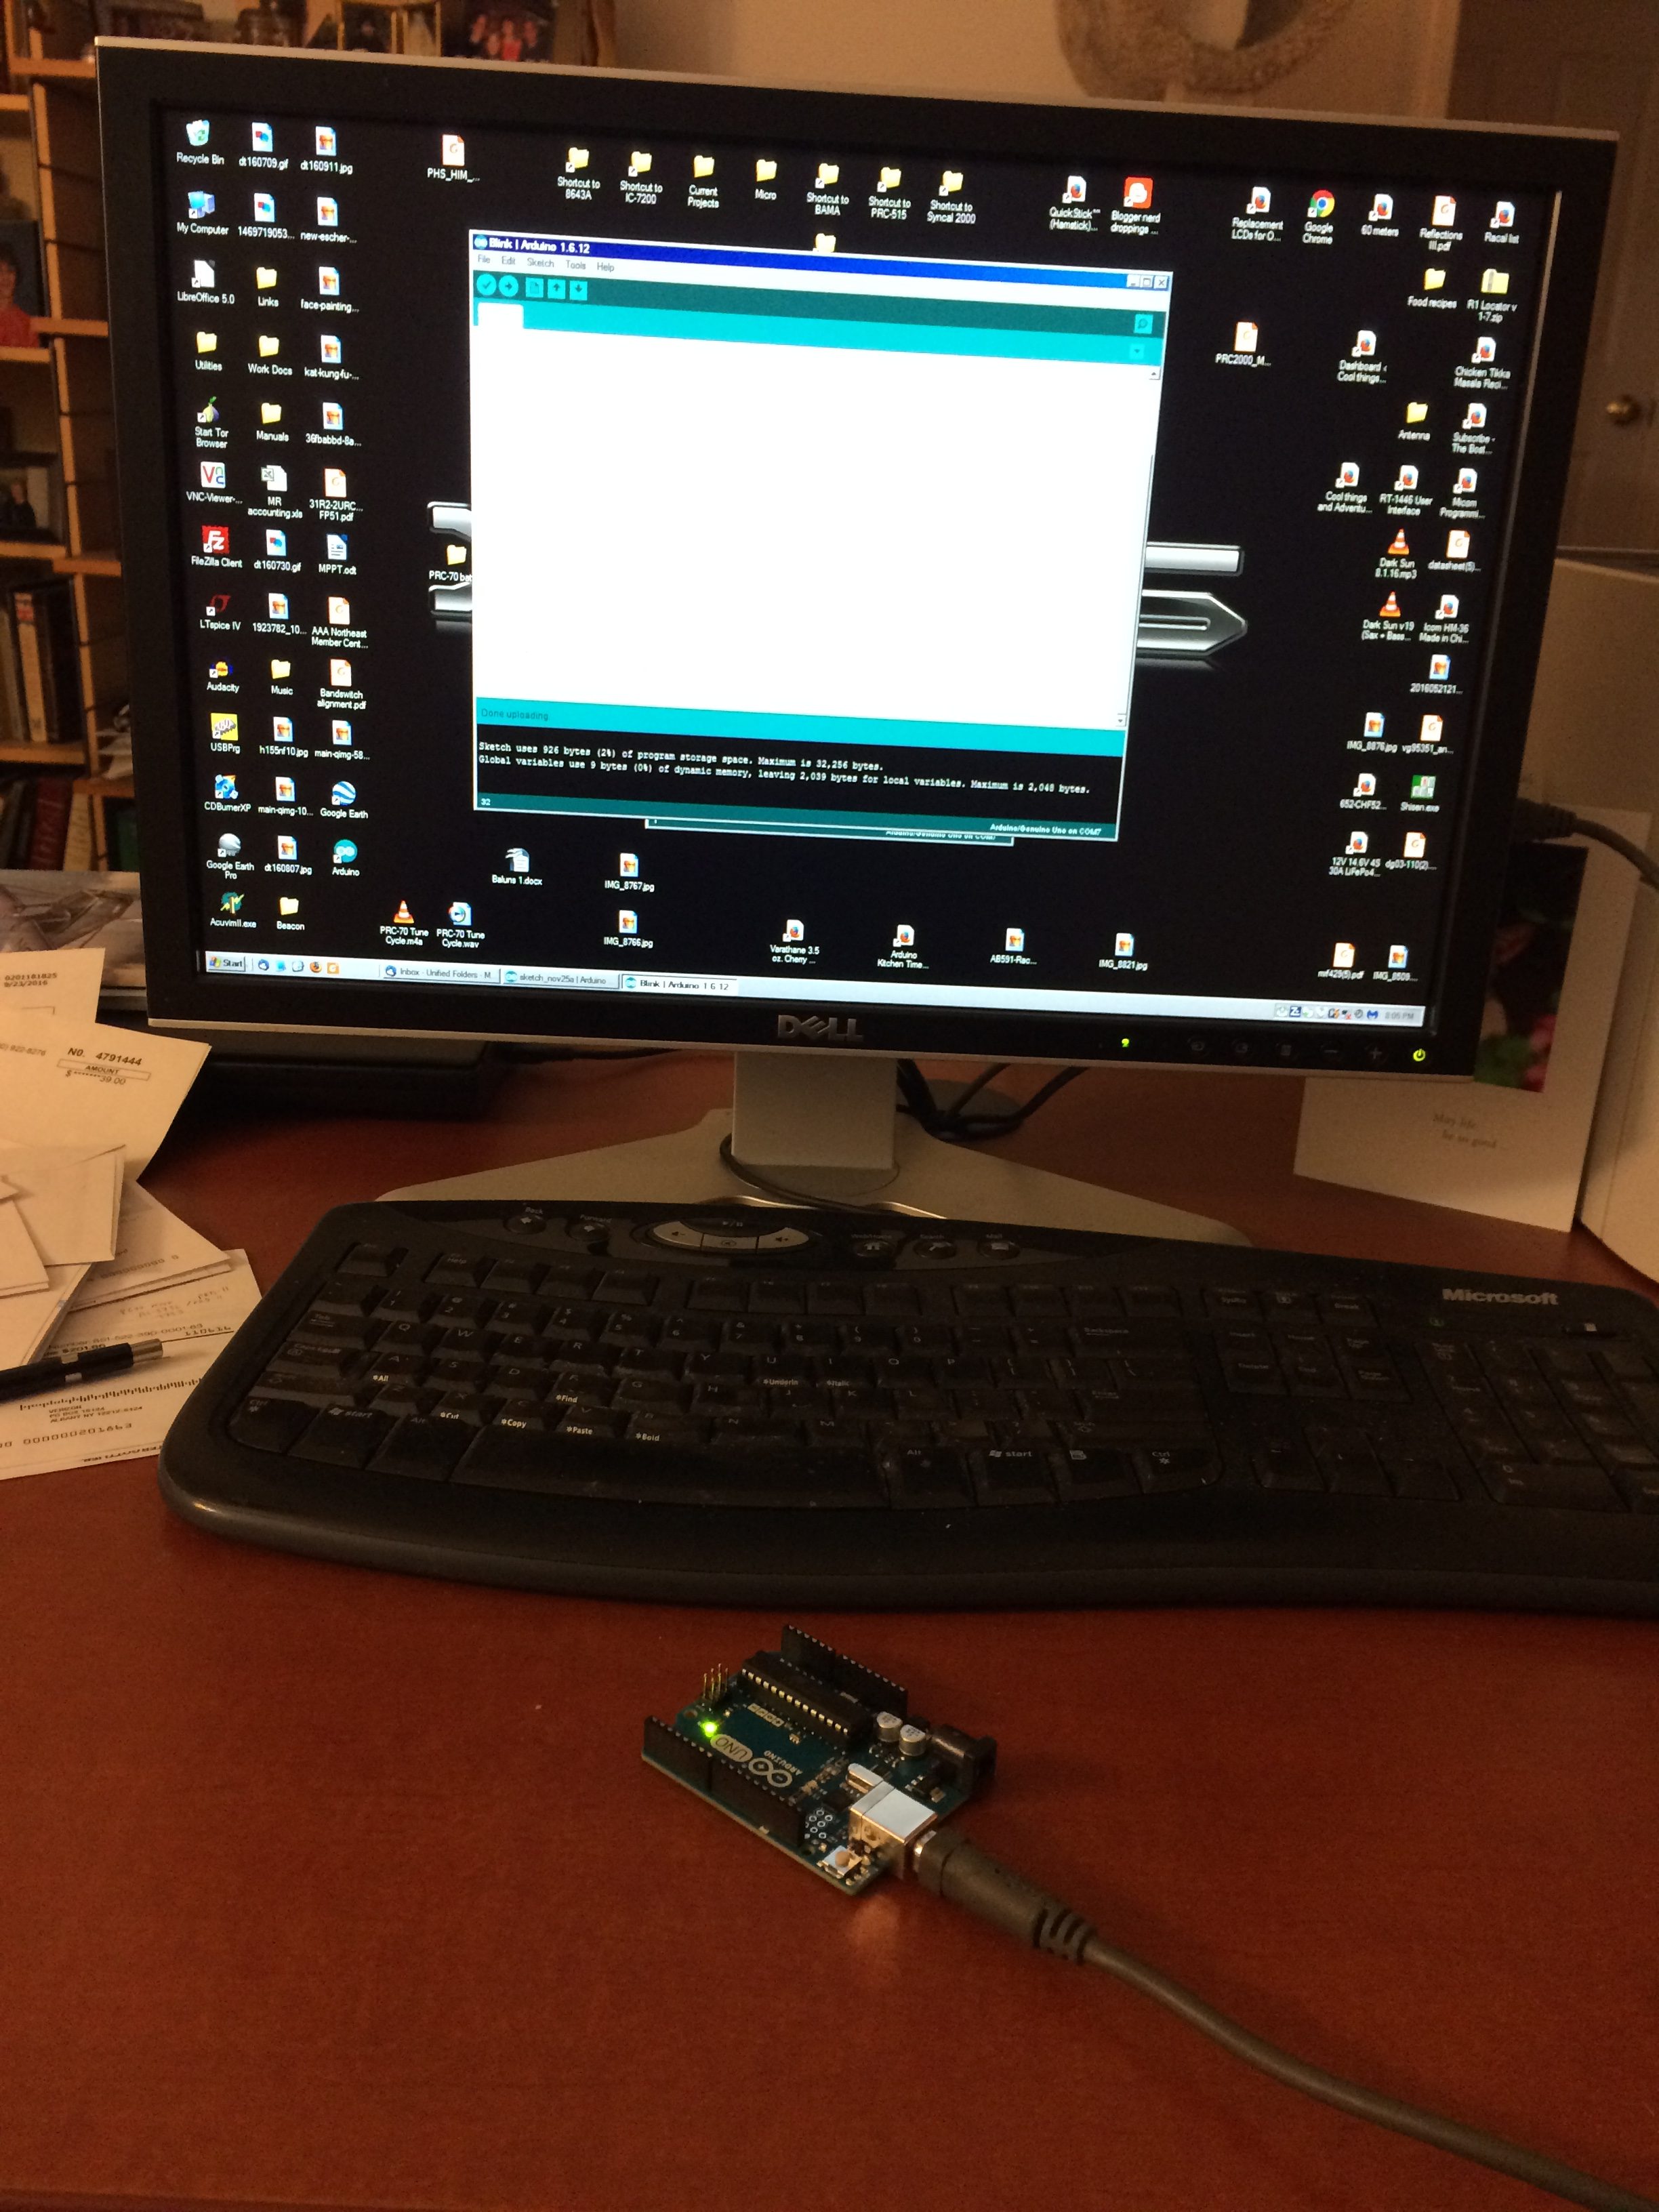
It attaches to your computer via the USB port. I loaded the dev environment and it came up incredibly easily. All I needed to do after installation was to change the default port from Com 1 to Com 7. I was able to open a sample program and upload it to the board, and it ran just fine. Here is the board connected to my computer:
So here is my plan for doing this:
- Acquire Arduino and set up dev environment (done)
- Get to where projects can be edited and loaded to device (done)
- Determine radio LCD segment to driver chip mapping (25% done)
- Determine addressing of LCD driver chips in radio, and how they are daisy chained
- Install wire.h and configure to emulate radio configuration
- Wire up basic LCD display to dump data to as debugging aid
- Write code to interpret segment data and convert to numerical frequency data, then display
- Write code to trap text messages such as Good, Pass, tune, etc
- Acquire the chosen OLED display, wire it in
- Write code to make nice graphical display
- Final debug
- Remove LCD driver chips and other associated components from radio display board
- Package to fit onto radio display board
- Final checkout
More as I make progress!
Looks like a great project. Keep in mind the syncal lcd has some fixed text that you will need to emulate. Good luck!
Indeed it does. Those are each a segment and driven as one bit. There are also a few graphic symbols, the left and right arrows and the 3 segment bar graph. As well, during programming the digit affected blinks, which is an attribute bit in the LCD driver so I will trap those as well. The Arduino programs directly in C. Well, not directly, but it’s transparent to the programmer. Just write the C code and press the upload button and it compiles and programs for you in a few seconds. Programming in C makes it super easy and with the immediate feedback, debugging should be a snap. I’m not saying it will be something I do in an evening, but compared to other microcontroller projects this one looks like it will be a real pleasure to work on.