Uno to Pro Mini transition
Up until this point I have been doing all my development and testing using the Arduino Uno, even though my plan all along was to use the Arduino Pro Mini. Both use the same processor, run on 5 volts, and have a 16 MHz clock. The difference is that the Pro Mini uses a surface mount part instead of through hole and eliminates the on-board USB interface. The Mini Pro is a very tiny board and is theoretically code compatible with the larger Uno. Nevertheless, the build definitions file used in the compiler is different and I decided to switch over to the Mini Pro for further development to make sure there weren’t any “gotchas.” Here are a few photos showing the size comparison.
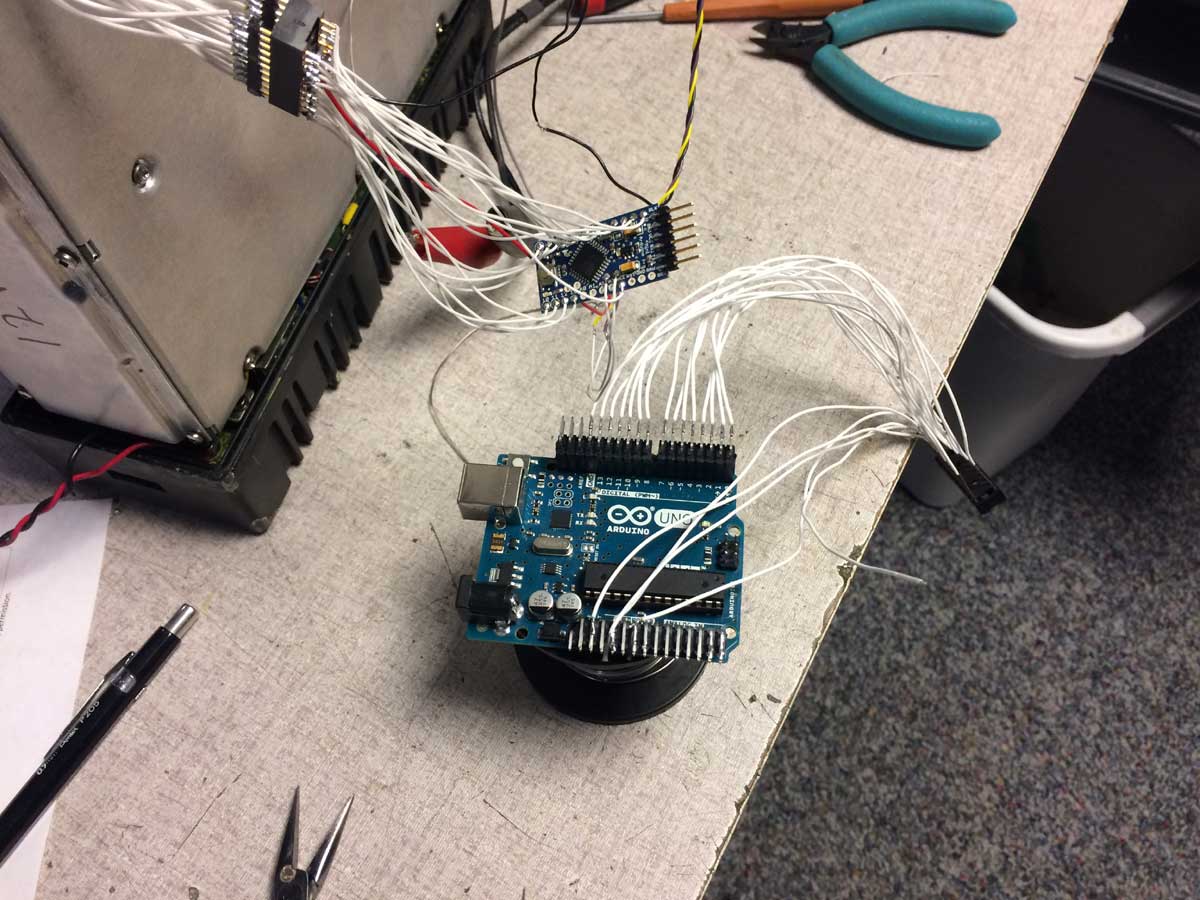
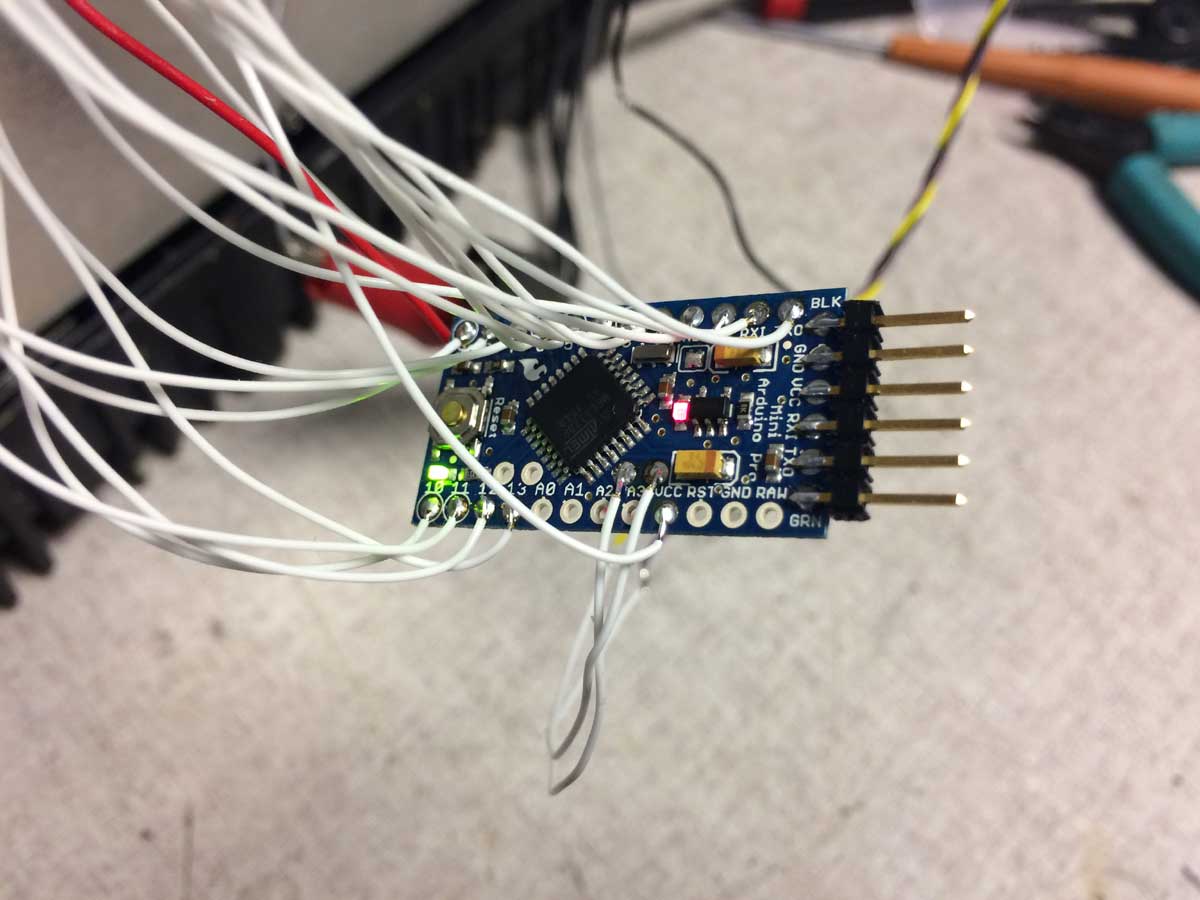
The 6 pin header on the Mini Pro (on top) has 0.1 inch spacing. The wire is 28 AWG teflon stranded for the Mini, 26 AWG for the Uno below it. Here is a close-up of the Mini. The header, by the way, is for connection to the computer for programming via a FTDI USB interface.
Here is the computer interface:
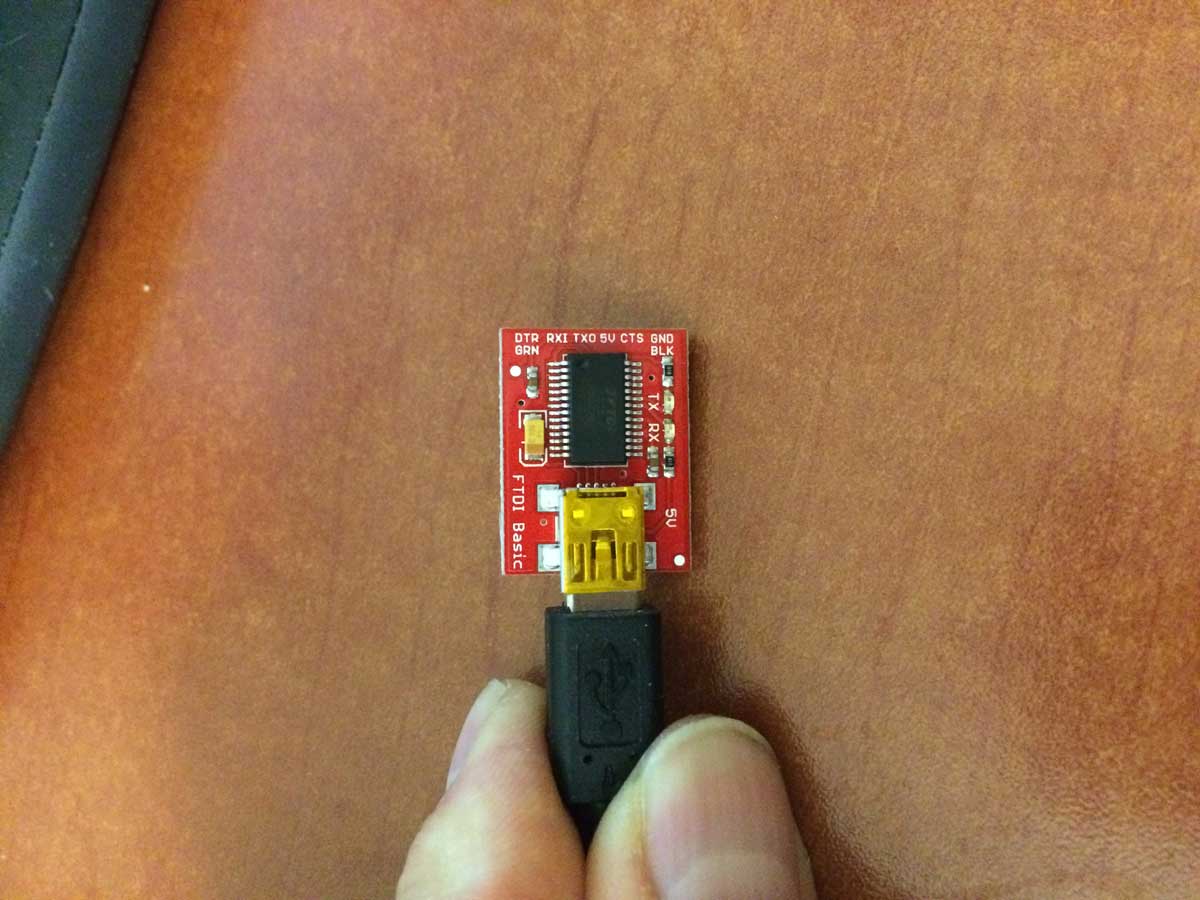
That’s one of those really tiny USB mini connectors. On the back side is a 6 pin socket to plug into the Mini.
Here is the Mini connected to the radio:
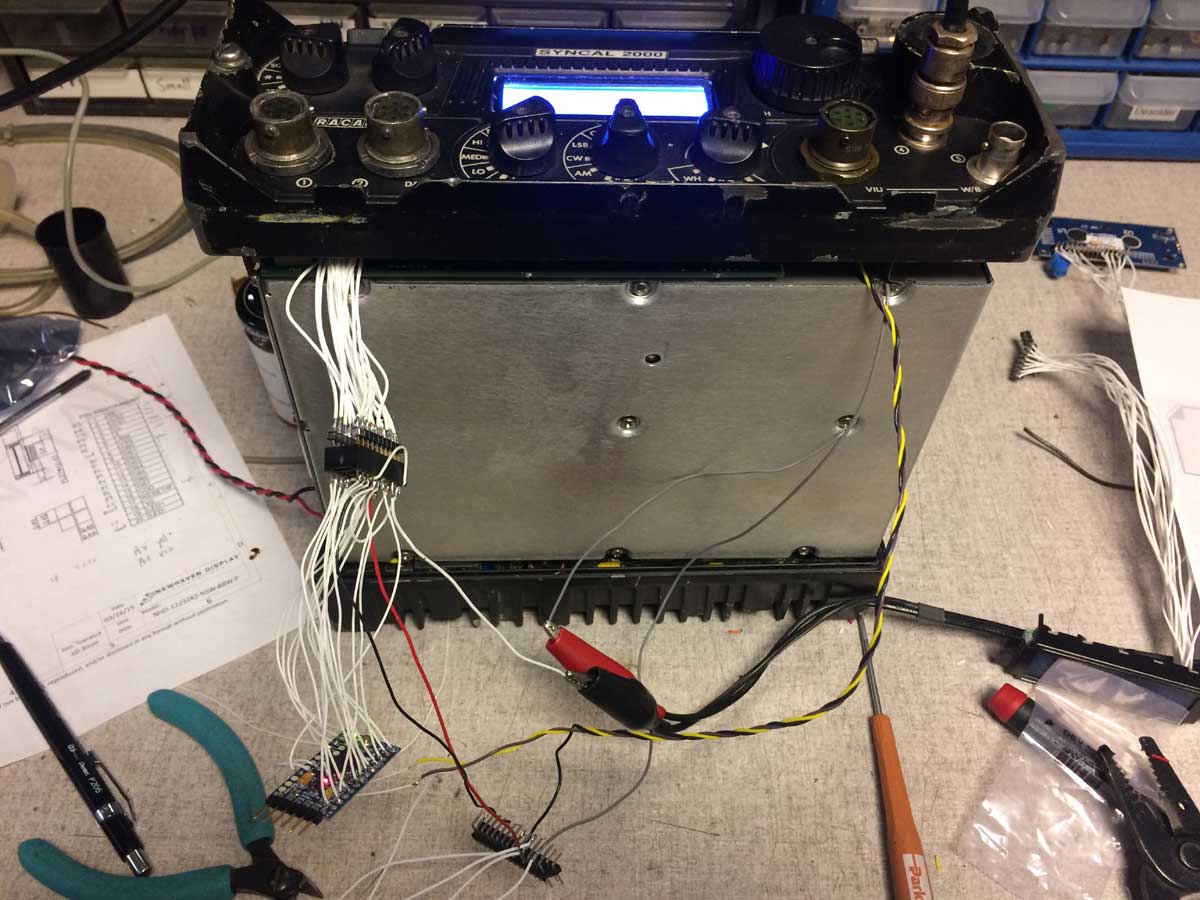
I’m using a 20 pin DIP socket as my connector so I can bring the Mini to my desktop computer to load code to it. That socket is nearly as large as the Mini board itself.
Initially I had build and communications errors between the computer and Mini but figured out what I needed to change in the settings, which wasn’t all that difficult and pretty obvious when I went in. I needed to change the port from COM7 to COM8 for the new device and also needed to change the target board to Mini Pro from Uno. Then it all worked and code loaded. Plugging it into the radio showed that it worked perfectly so it seems the two are indeed pretty compatible.
One very interesting suggestion I got was to display actual battery voltage on the screen. I thought the on-chip A/D was 8 bits but I was wrong, it’s 10 bits, so that would give a pretty solid XX.X volt display. If I set the full scale to 15 volts that means each LSB is 15 mV so I could almost go to XX.XX if I really wanted. I’m not sure I can nicely fit these digits onto the screen, although I’m playing with layouts using a 5×7 basic font for this voltage, reducing the size of the existing battery bars (which are also used for transmit power indication), and moving some of the lower status row letters closer together.
Peter