Spent some time studying the PCF8576 LCD driver chip and decided I would try some code:
- Set up the Arduino as a slave receiver at I2C address 57,
- Pulse a spare output pin when that address was hit,
- Print a “* to the LCD each time the address was hit
I then wired the Arduino to the radio front panel, like this:
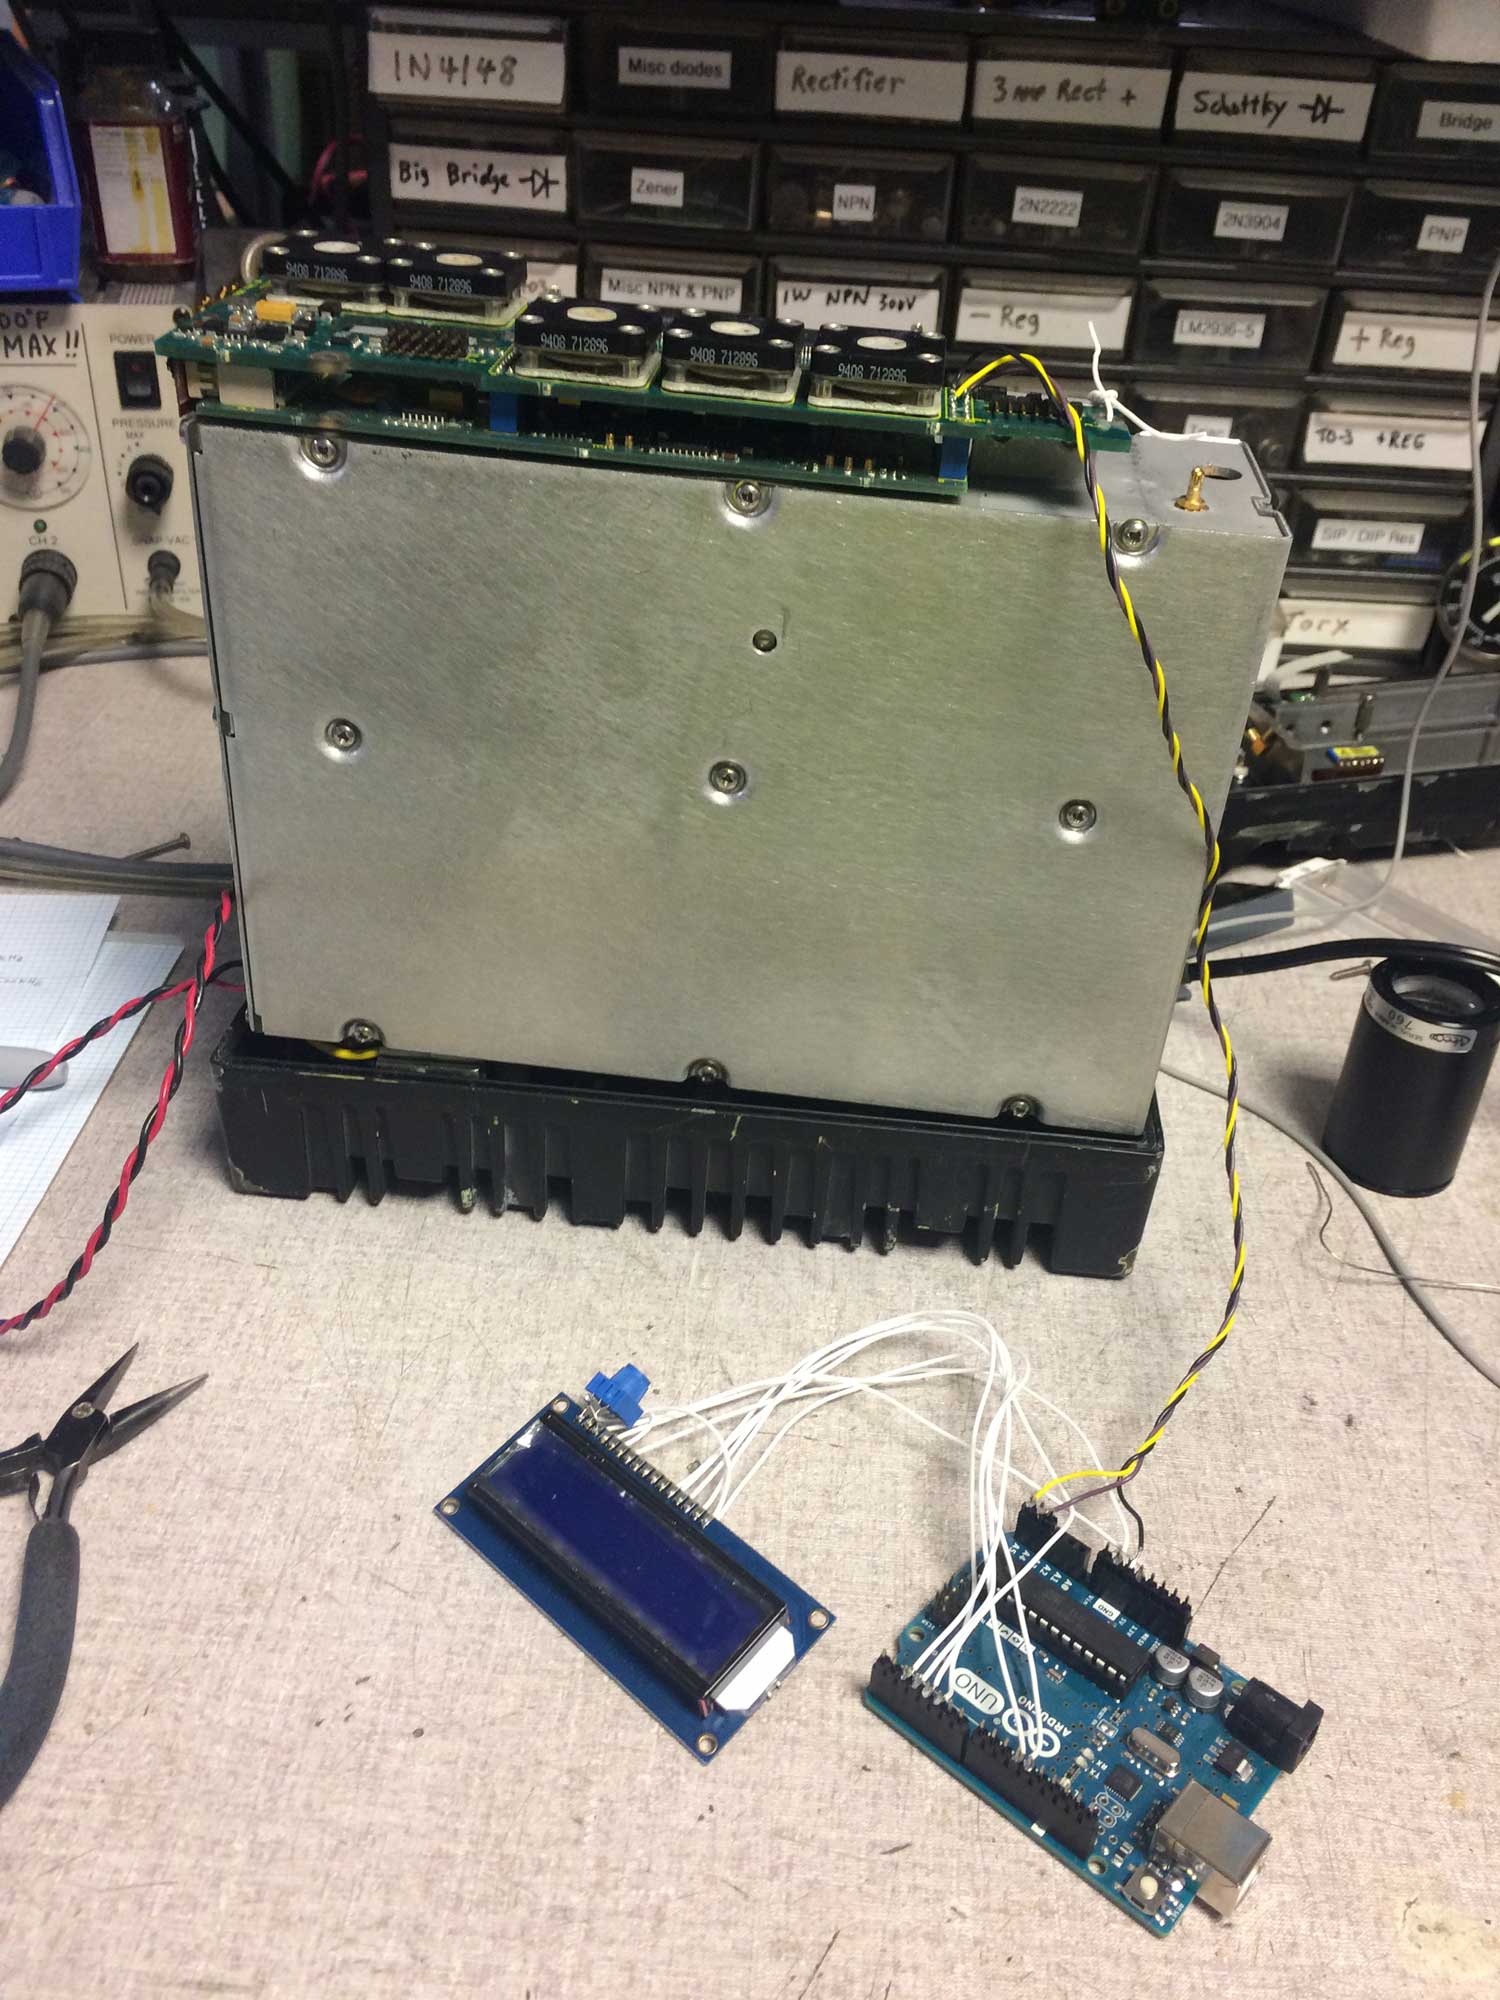
Originally I was going to power the Arduino from a nearby computer, but then decided I would just power it from the radio +5 regulated supply. For those looking carefully you would see I only have three wires in the photo, the black one connected to the ground pin on the Arduino and the two I2C lines (SCL and SDA). I added the fourth wire after this photo.
Before I did I wanted to double check the +5 supply pin I had previously located and to my dismay the radio was dead. This happened before and I thought I had fixed it by resoldering the flex cable that goes from the side interconnect board to the front boards. But the same problem had me tracing what I had learned about the power supplies in the radio and found that pin 40 of that cable was open. It takes a pull-down from the front panel switch to turn on the main supply and with that open obviously the radio wouldn’t work. So I put a fine flexible wire jumper in and the radio came right up.
So I turned the radio on, and got four asterisks on the LCD. What that told me was that the I2C receiver in the Arduino was likely working and that four sequences were detected as being sent. I changed channel and each time I did that I got another asterisk.
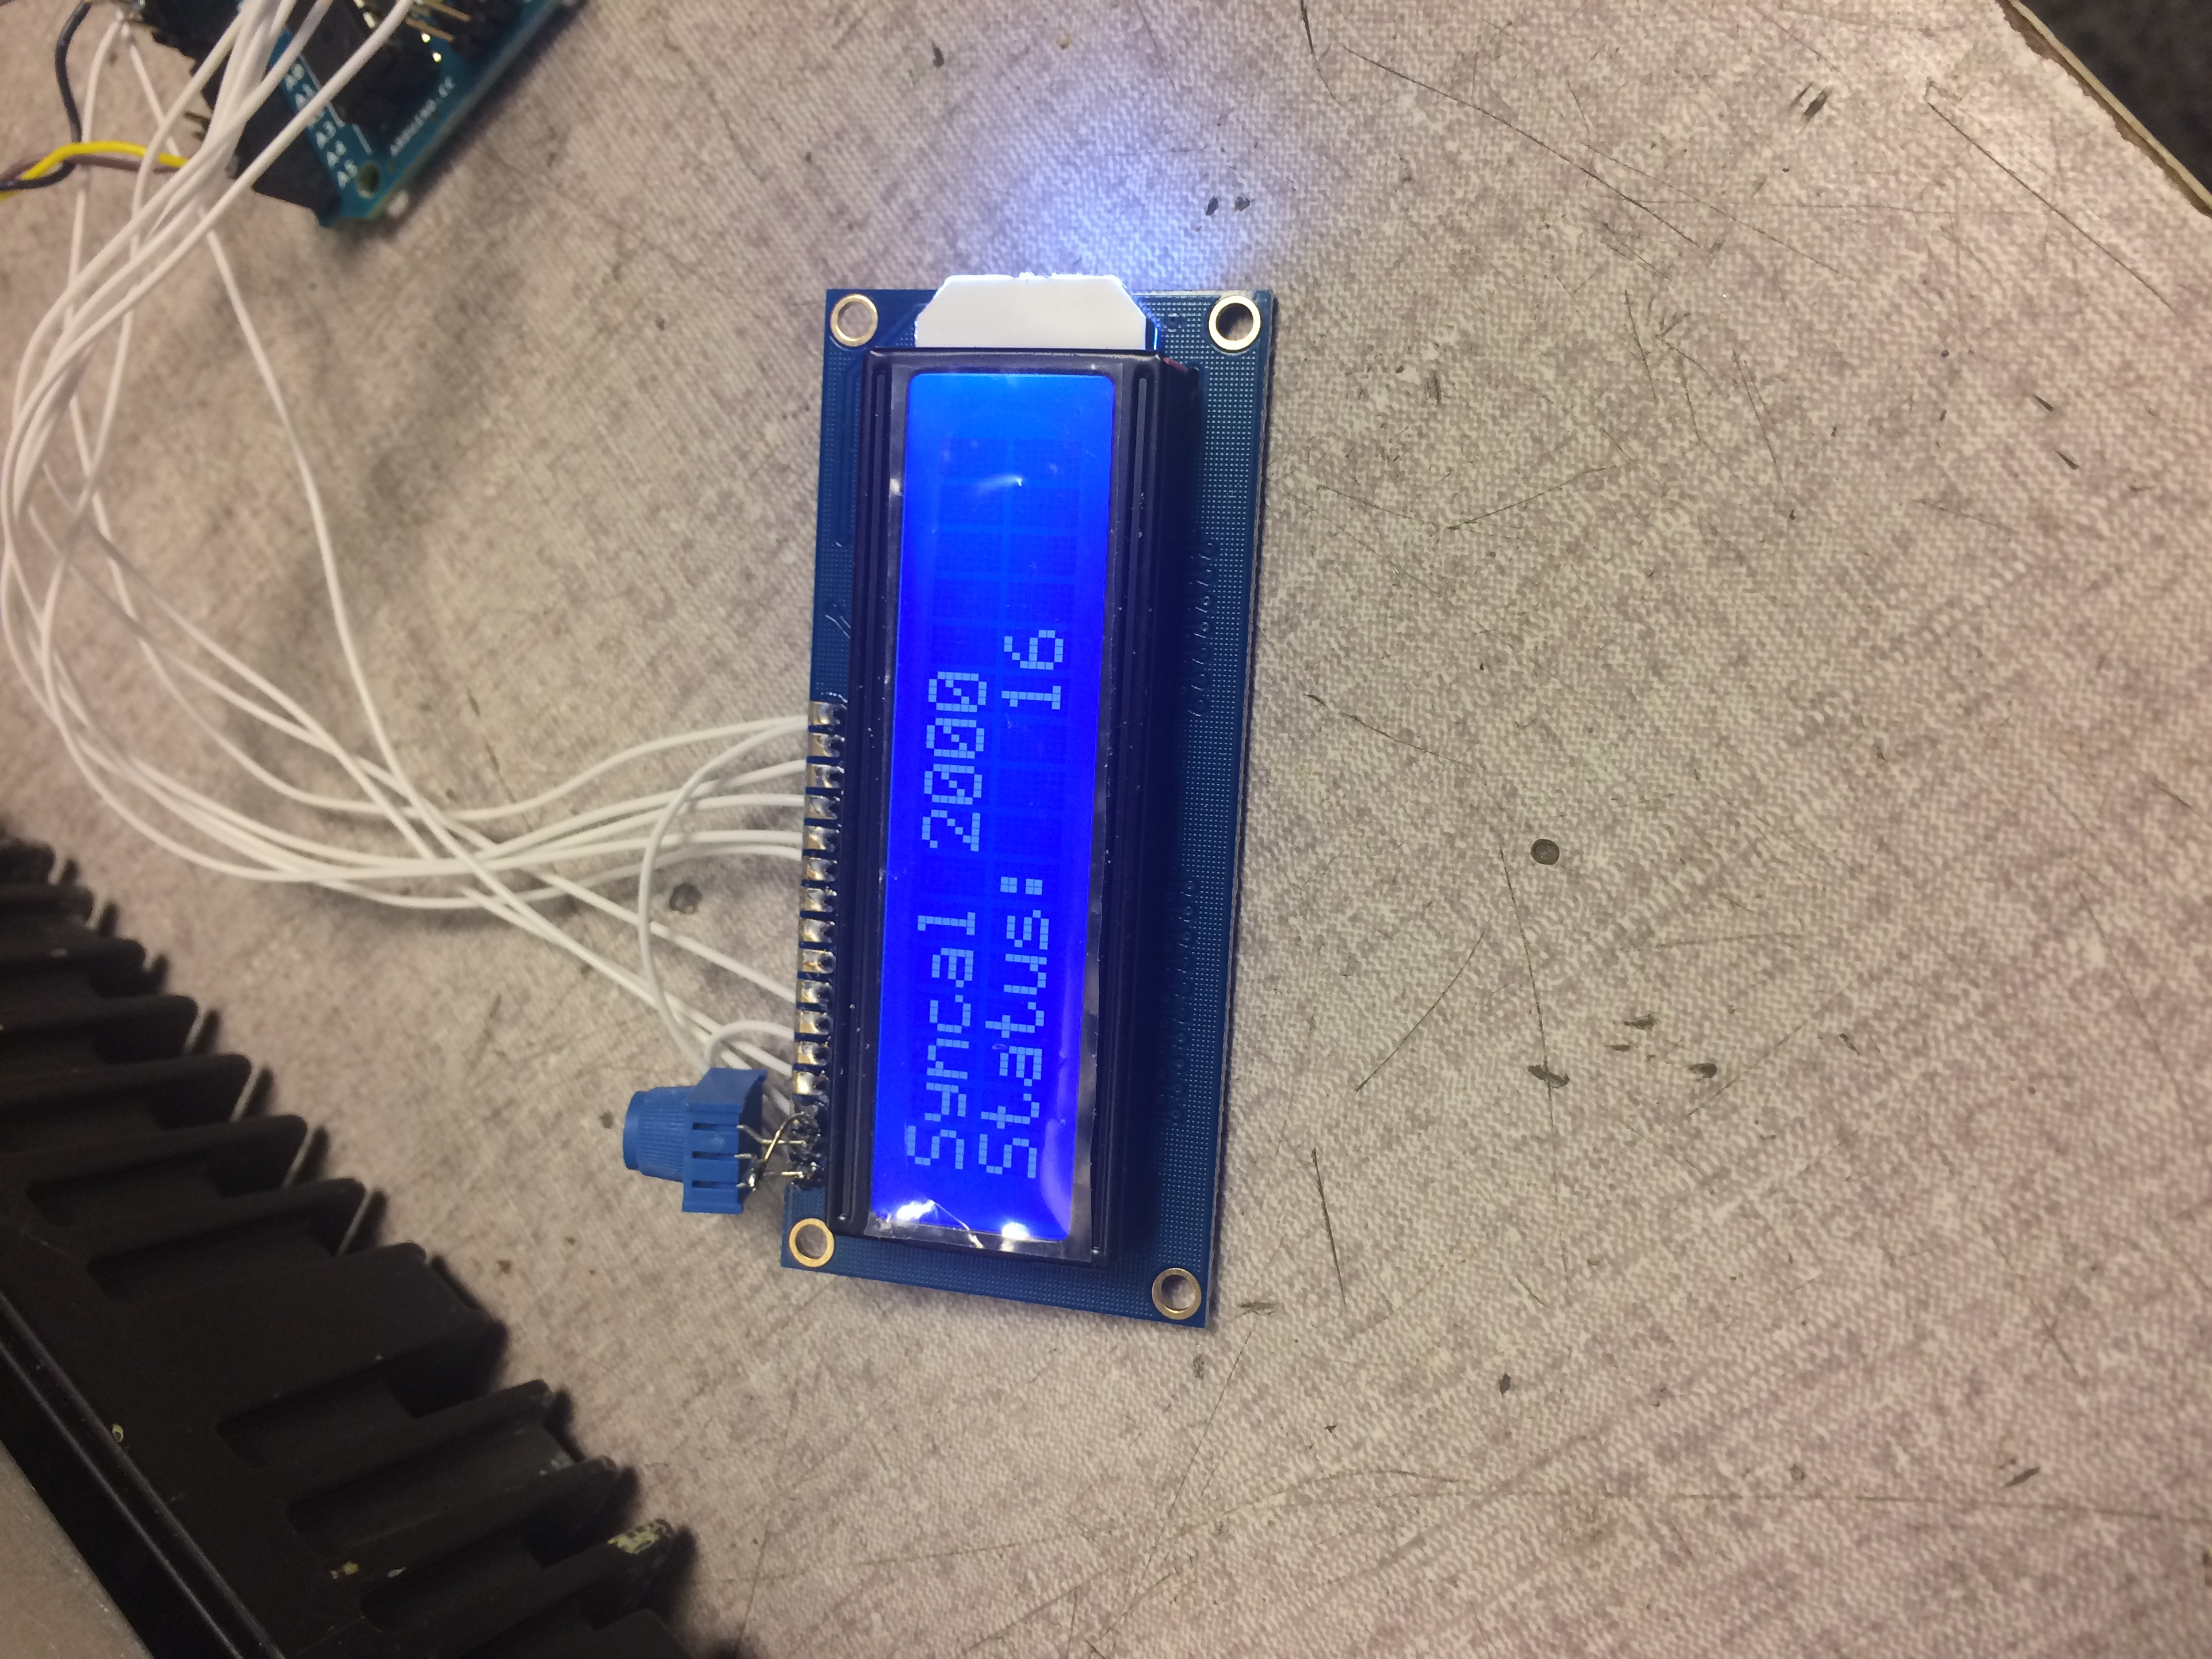
So now I got bold and instead of the asterisk I changed the code to print the number of bytes received, brought it back to my bench, turned it on and got “16.” I changed radio channel and 16 came up again. Well, well. What that seems to indicate is that each time the radio wants to modify the display it writes the entire block of data representing the entire display. Here is what it looked like:
So now I will set the LCD to display the data bytes received in hex. There’s a hitch in that it’s a little of a pain to buffer and stop the display to read the initial 4 writes. I am not sure what those 4 are, but I know that one is a LCD test, turning on all segments, and another is to make the regular display. Perhaps there are a couple of clear displays in there, or there is a control chip initialization then self test then clear then normal? Who knows, but to some degree it doesn’t matter, all I really want is to read the normal display as I will do self test of the new display myself.
The LCD above is 16 characters by 2 lines. That will just fit a hexadecimal display of 16 bytes, two characters per byte.
What happens will be the subject of my next post!
One thought on “Syncal 2000 display project, part 4”
Comments are closed.