The next step, going to a graphics display, is a big one. There are several reasons for this:
- The display interface is 8 bit parallel with a number of control lines
- The display requires a 2 kHz clock signal
- The display controller chips are complicated to program
- I will be sending pixel data to the display instead of ASCII characters
So this is taking me some time. I found some other Arduino projects on the web where this particular type of display is used, but they are rather complicated and since they are not for this exact Arduino processor, they would require a number of changes. They are also for a C++ compiler and I’m using the very simple plain C Arduino IDE. So much for code re-usability, it looks like I’m going to have to write my own.
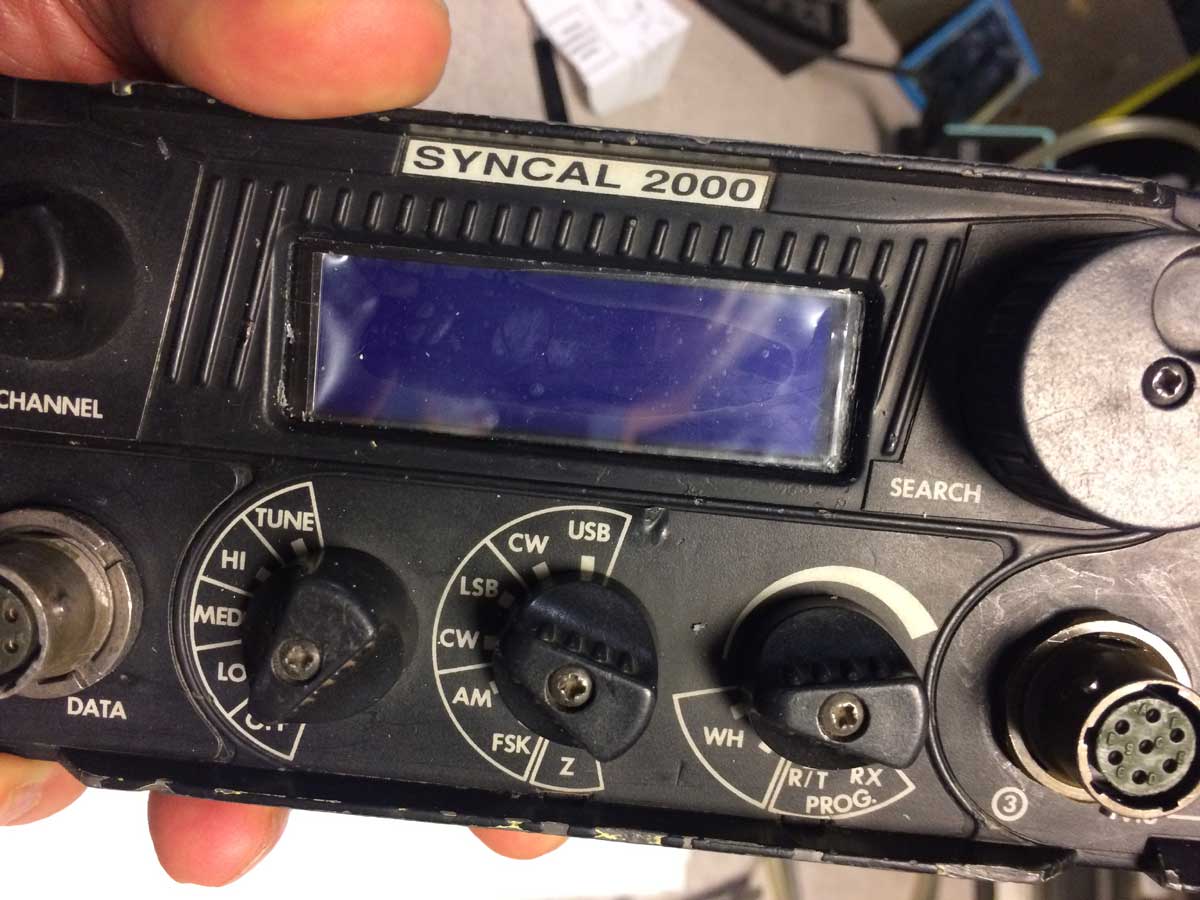
In the meanwhile, some hardware notes. My measurements worked out well and the displays I ordered fit nicely. Here is a photo of the front of the panel with the LCD held in with my fingers. Note I still have the blue protective film on the display.
Here it is from the back:
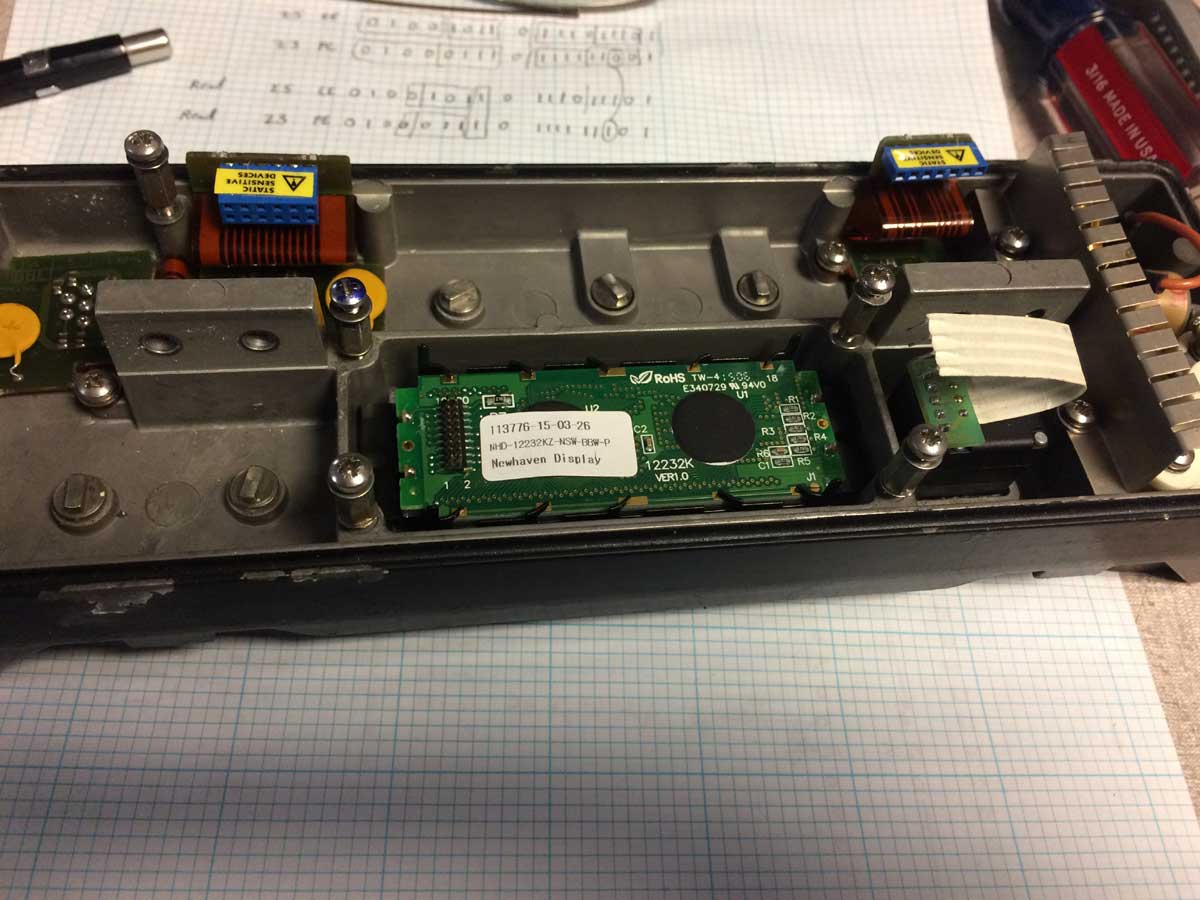
It fits nicely!
Note on the paper behind some data. I was playing with triggering on the I2C bus when changing mode switch positions. With the digital scope I could read both clock and data and see what happened. I think I have a real shot at picking up mode info from the bus and displaying it. But that’s for later.
I’m using the Arduino Uno for development but will use the Nano for the final installation. The Nano is VERY small! Here is a photo of the display next to the Nano.
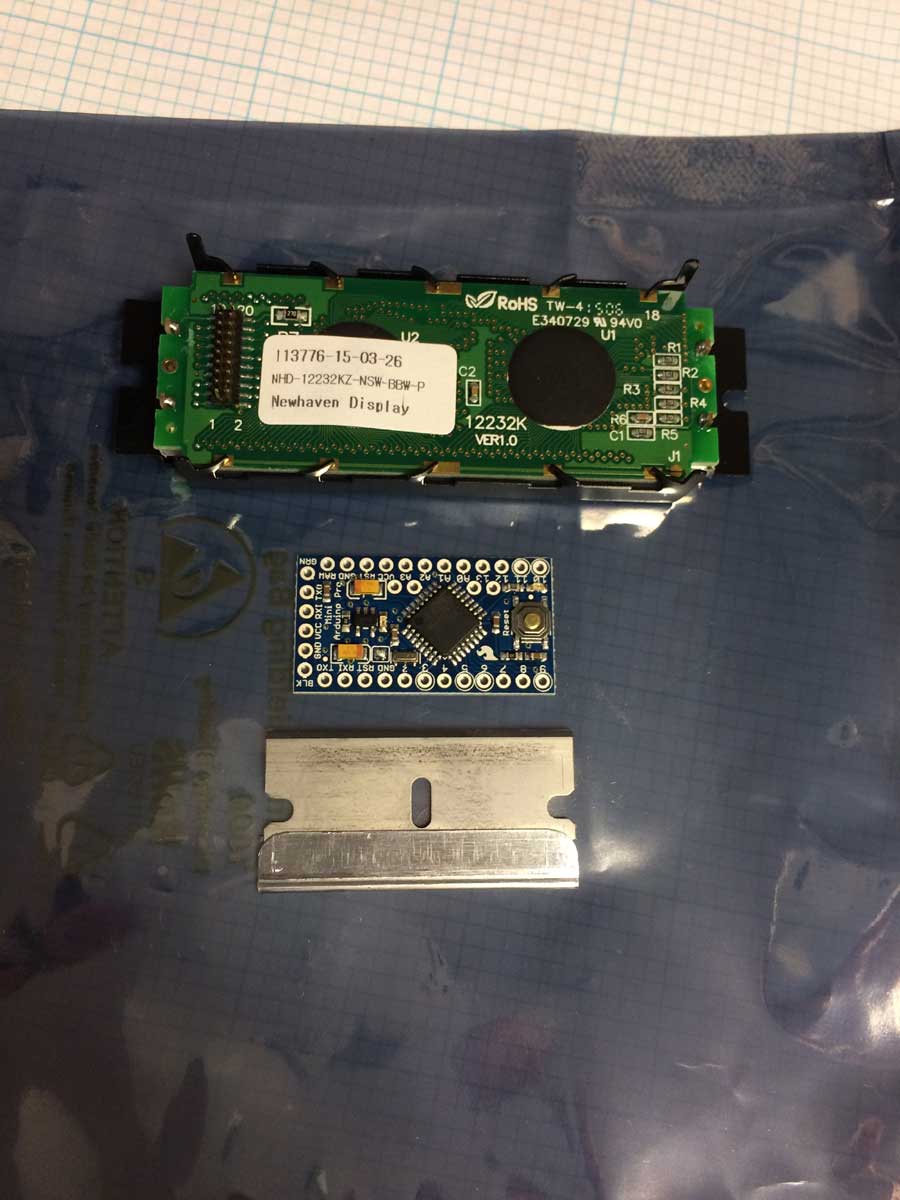
How cool is that?
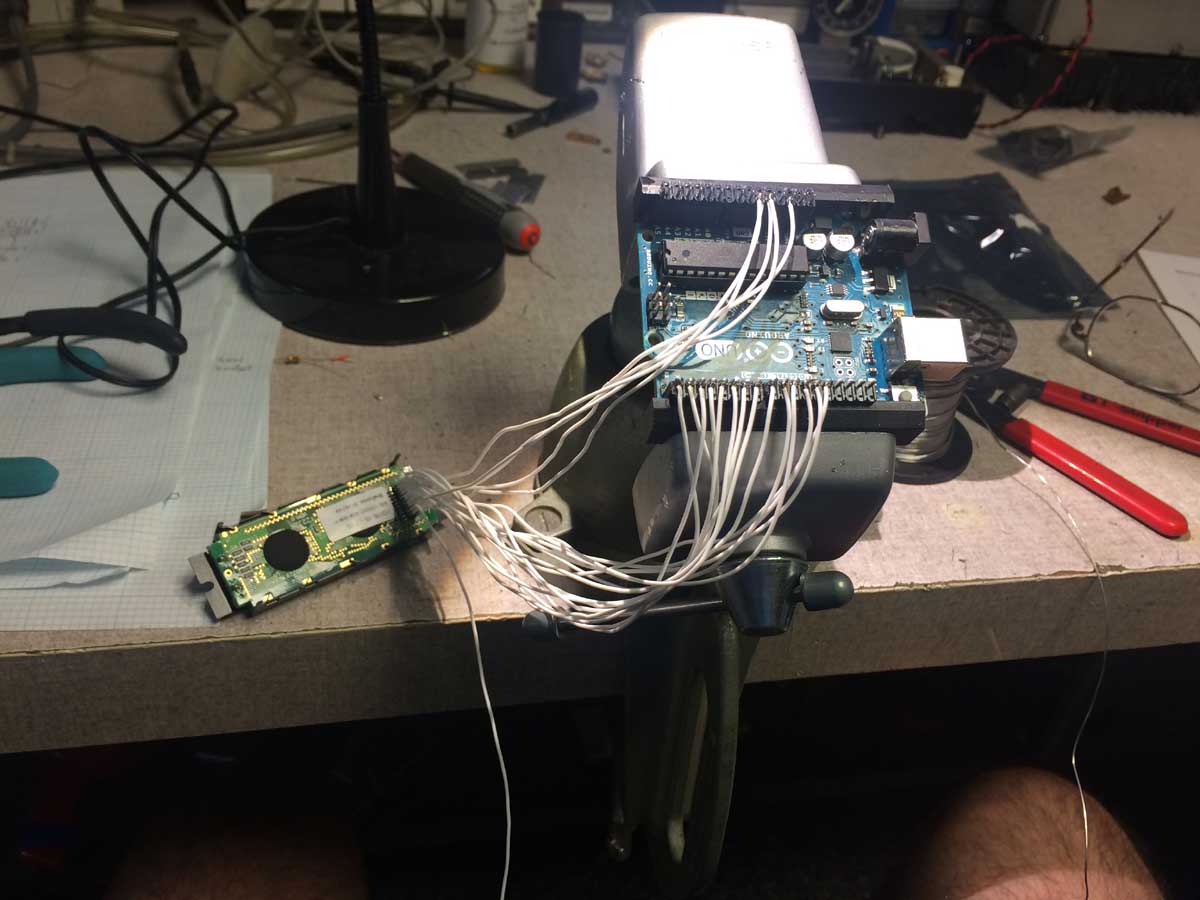
Anyhow, here I am beginning to wire it up. Those 50 mil pitch pins on the display are small to solder, and all 20 are used.
Back to the software. The display needs a 2 kHz clock and in the example I found on GitHub (from the guy behind Vanyamba Electronics) an interrupt is used to toggle an output pin based on a timer which fires every 500 microseconds. My experience is that these clock speed requirements are frequently not very demanding and I wondered what frequency the built in PWM ran at. It turns out it defaults to 1 kHz and can be changed. So my simpler solution will be to set a PWM output to 50% and get the frequency as close to 2 kHz as I can. Voila! No dealing with interrupt coding or latency effects on the I2C slave code. This will be the first thing I test and bring up in my step-by-step march to getting the display to work. I can easily check that with the scope.
Probably next I will write some basic routines to send and receive data from the display. I’ll need this of course for writing pixels, but also for reading and writing commands, setting position, etc. The way I imagine this working is to, in sequence, toggle microprocessor output pins in the right sequence, like set CS, E, then present data to the 8 outputs, then the WR pin to write it out. Something like that. The data sheet for the SBN1661 chips in the display give some program sequences. I’ll start with that and if I run into trouble see what Vanyanba did. If I really run into trouble I’ll take out the logic analyzer to make sure I’m outputting what I think I am. Once I can initialize the display and write pixels to it the rest will be pretty easy as I found a whole library of LCD fonts:
https://github.com/basti79/LCD-fonts
I’ll give an update when I have a little progress in coding.